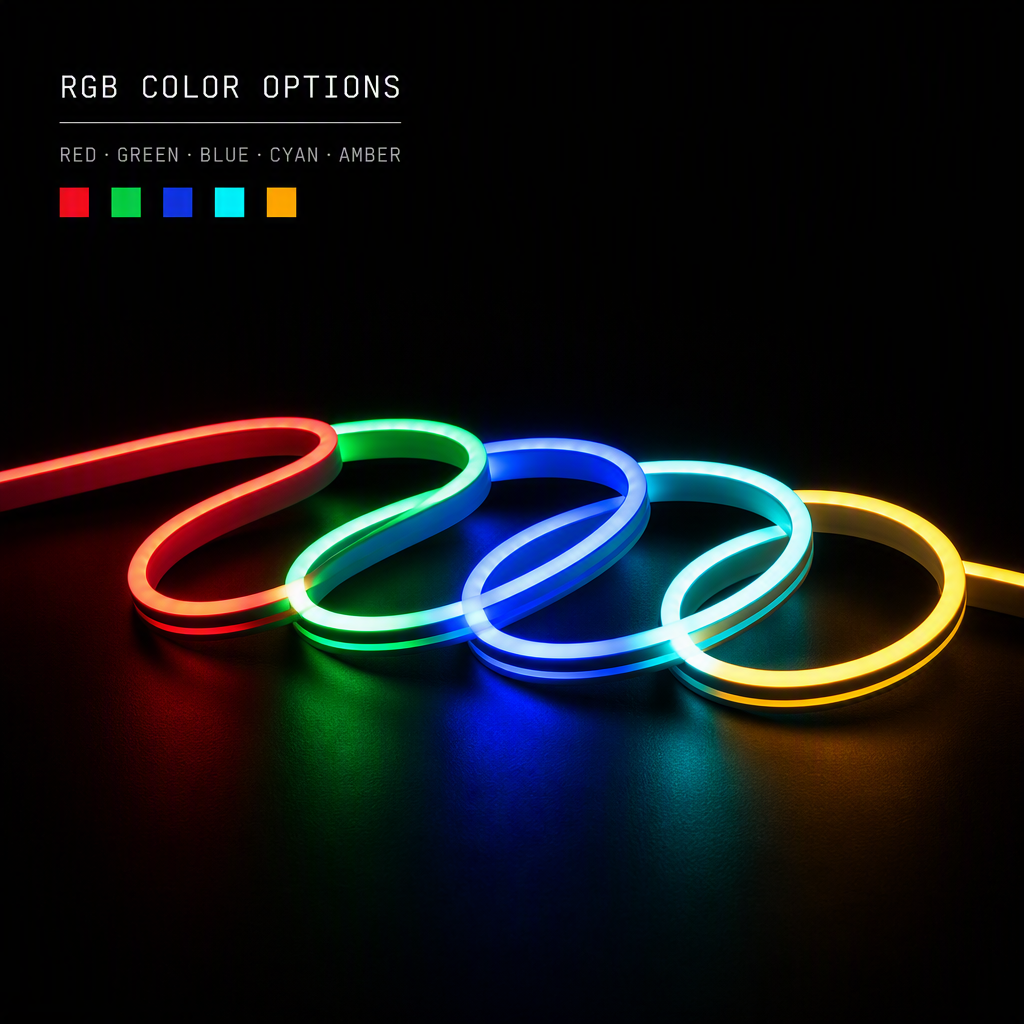
Installing a cob led strip in your space transforms lighting aesthetics while delivering professional-grade illumination. Unlike traditional LED strips, high density led strip technology packs more diodes into a compact form, creating uniform light without visible dots or shadows. This continuous led tape solution has become the preferred choice for interior designers, architects, and homeowners seeking seamless brightness across kitchens, shelving, architectural features, and accent areas.
The installation process requires minimal tools and technical expertise, making cob flexible lighting accessible to DIY enthusiasts and professionals alike. Understanding surface preparation, power management, and mounting techniques ensures your high density led strip performs optimally for years. This guide walks you through every stage, from planning your layout to testing final connections, so you can confidently integrate continuous led tape into any interior design project.
Planning Your Installation Layout
Measuring and Mapping Your Space
Before purchasing materials, accurately measure the areas where you intend to install your cob flexible lighting. Use a measuring tape to determine linear footage, accounting for corners, turns, and any obstacles. Sketch your layout on paper or digitally, marking power source locations and potential junction points. This planning phase prevents costly material waste and ensures your continuous led tape reaches all intended areas without excessive splicing.
Consider ambient lighting conditions and color temperature preferences during this stage. High density led strip comes in various color options, from warm 2700K to cool 6500K, so identifying your preferred ambiance helps you select the right product. Calculate total wattage requirements to ensure your power supply can handle the load without overheating or voltage drops across extended runs.
Preparing Surfaces and Materials
Surface preparation directly impacts the adhesive performance of self-adhesive cob flexible lighting systems. Clean all mounting surfaces thoroughly with rubbing alcohol to remove dust, oils, and residue that could compromise bonding. Allow surfaces to dry completely before proceeding, as moisture reduces adhesive effectiveness. For high density led strip installations on textured surfaces, consider using aluminum channels with diffusers, which offer superior durability and professional appearance.
Gather all necessary materials before installation begins: your continuous led tape, power supply, connectors, soldering iron or connector clips, electrical tape, and mounting hardware. Organize cable runs and plan wire pathways to avoid creating trip hazards or visible cables that detract from the finished appearance. Pre-cut aluminum channels if using them, ensuring clean edges and proper length measurements.
Installation Techniques and Best Practices
Mounting and Securing Your COB LED Strip
Start mounting your cob led strip from the power supply location, working systematically toward the end of your planned route. Peel back the adhesive backing gradually while pressing firmly to establish solid contact with the surface. Use slight downward pressure for 10 to 15 seconds at each section to ensure the high density led strip bonds securely. For cob flexible lighting in areas subject to vibration or temperature fluctuations, supplement adhesive mounting with small fasteners or clips for added security.
When navigating corners with your continuous led tape, use corner connectors or gently bend the strip if it has flexibility specifications. Avoid sharp 90-degree bends without connectors, as these can damage internal circuitry and compromise performance. For under-cabinet lighting and other challenging installations, pre-mount aluminum channels first, then slide your high density led strip into position for a refined, protected installation.
Wiring and Electrical Connections
Connect your power supply to the positive and negative terminals of the cob flexible lighting carefully, checking polarity before energizing. If your continuous led tape includes built-in connectors, align them precisely and press firmly until they click into place. For soldered connections, use appropriately sized wire gauge to handle current flow, typically 18 to 22 AWG for most residential installations. Heat shrink tubing or electrical tape insulates exposed connections, preventing short circuits.
When extending your high density led strip across multiple sections, use connector clips or solder joints depending on your system design. Test each segment before fully securing to catch connection issues early. If you're installing continuous led tape in moisture-prone areas like bathrooms or kitchens, verify that all connections have waterproof ratings and use epoxy or silicone sealant to protect solder joints and connectors.
Optimization and Troubleshooting
Achieving Uniform Light Distribution
The advantage of high density led strip technology lies in its ability to produce seamless, uniform illumination without visible hotspots. To maximize this benefit, ensure your cob flexible lighting sits flush against mounting surfaces without gaps or air pockets. If using diffuser lenses over your continuous led tape, select frosted or clear options based on desired light diffusion and aesthetics. Position the light source at consistent distance from surfaces to maintain even brightness across the entire installation.
Verify color consistency across your cob led strip by viewing it in the final environment after installation. Slight variations in color temperature can occur if you've combined strips from different batches. If this becomes noticeable, separate different batches to different zones or consider adjusting your lighting design to feature the variation intentionally as an accent element within your high density led strip installation.
Common Installation Challenges and Solutions
Adhesive failure ranks among the most common issues with self-adhesive cob flexible lighting systems, typically resulting from inadequate surface preparation. If your continuous led tape loosens after installation, carefully remove it, clean both the strip backing and surface with alcohol, and reapply. For permanent installations where adhesive alone seems risky, supplement with mechanical fasteners drilled through aluminum channels rather than directly through the high density led strip.
Voltage drop affects brightness in extended runs of cob led strip, causing the far end to appear dimmer than the starting point. Solve this by increasing wire gauge for power distribution or installing separate power connections at midpoints along your continuous led tape route. If your installation exceeds 20 feet, strongly consider dual power feeds to maintain consistent brightness across the entire high density led strip system.
FAQ
Can I cut cob flexible lighting during installation?
Most cob flexible lighting systems include designated cut points marked on the strip, typically every inch or two. You can cut your continuous led tape at these locations without damaging the remaining section. However, avoid cutting randomly, as this destroys connections between LED clusters. After cutting your high density led strip, seal the exposed end with epoxy or silicone to prevent moisture intrusion and protect internal components.
What power supply wattage do I need for my cob led strip installation?
Check your product specifications for watts per meter or total wattage requirements for your cob flexible lighting system. Multiply the linear footage by the per-foot wattage to determine total draw, then select a power supply rated 20 percent above this figure for headroom. For a high density led strip consuming 120 watts total, choose a 150-watt supply. An oversized continuous led tape power supply ensures cooler operation and longer equipment lifespan compared to minimal capacity supplies.
Is waterproofing necessary for indoor cob led strip installations?
Indoor cob flexible lighting typically doesn't require full waterproofing unless installed near moisture sources like kitchens or bathrooms. Even for these applications, focus waterproofing efforts on electrical connections rather than the entire continuous led tape. Use waterproof connector clips, epoxy sealant on solder joints, and position power supplies and controls outside moisture zones. For high density led strip in completely dry interior spaces, basic dust protection through diffuser channels suffices.
 EN