 EN

what-are-common-installation-issues-with-led-strip-lights, what-are-common-installation-issues-with-led-strip-lights, /technical-insights
EN
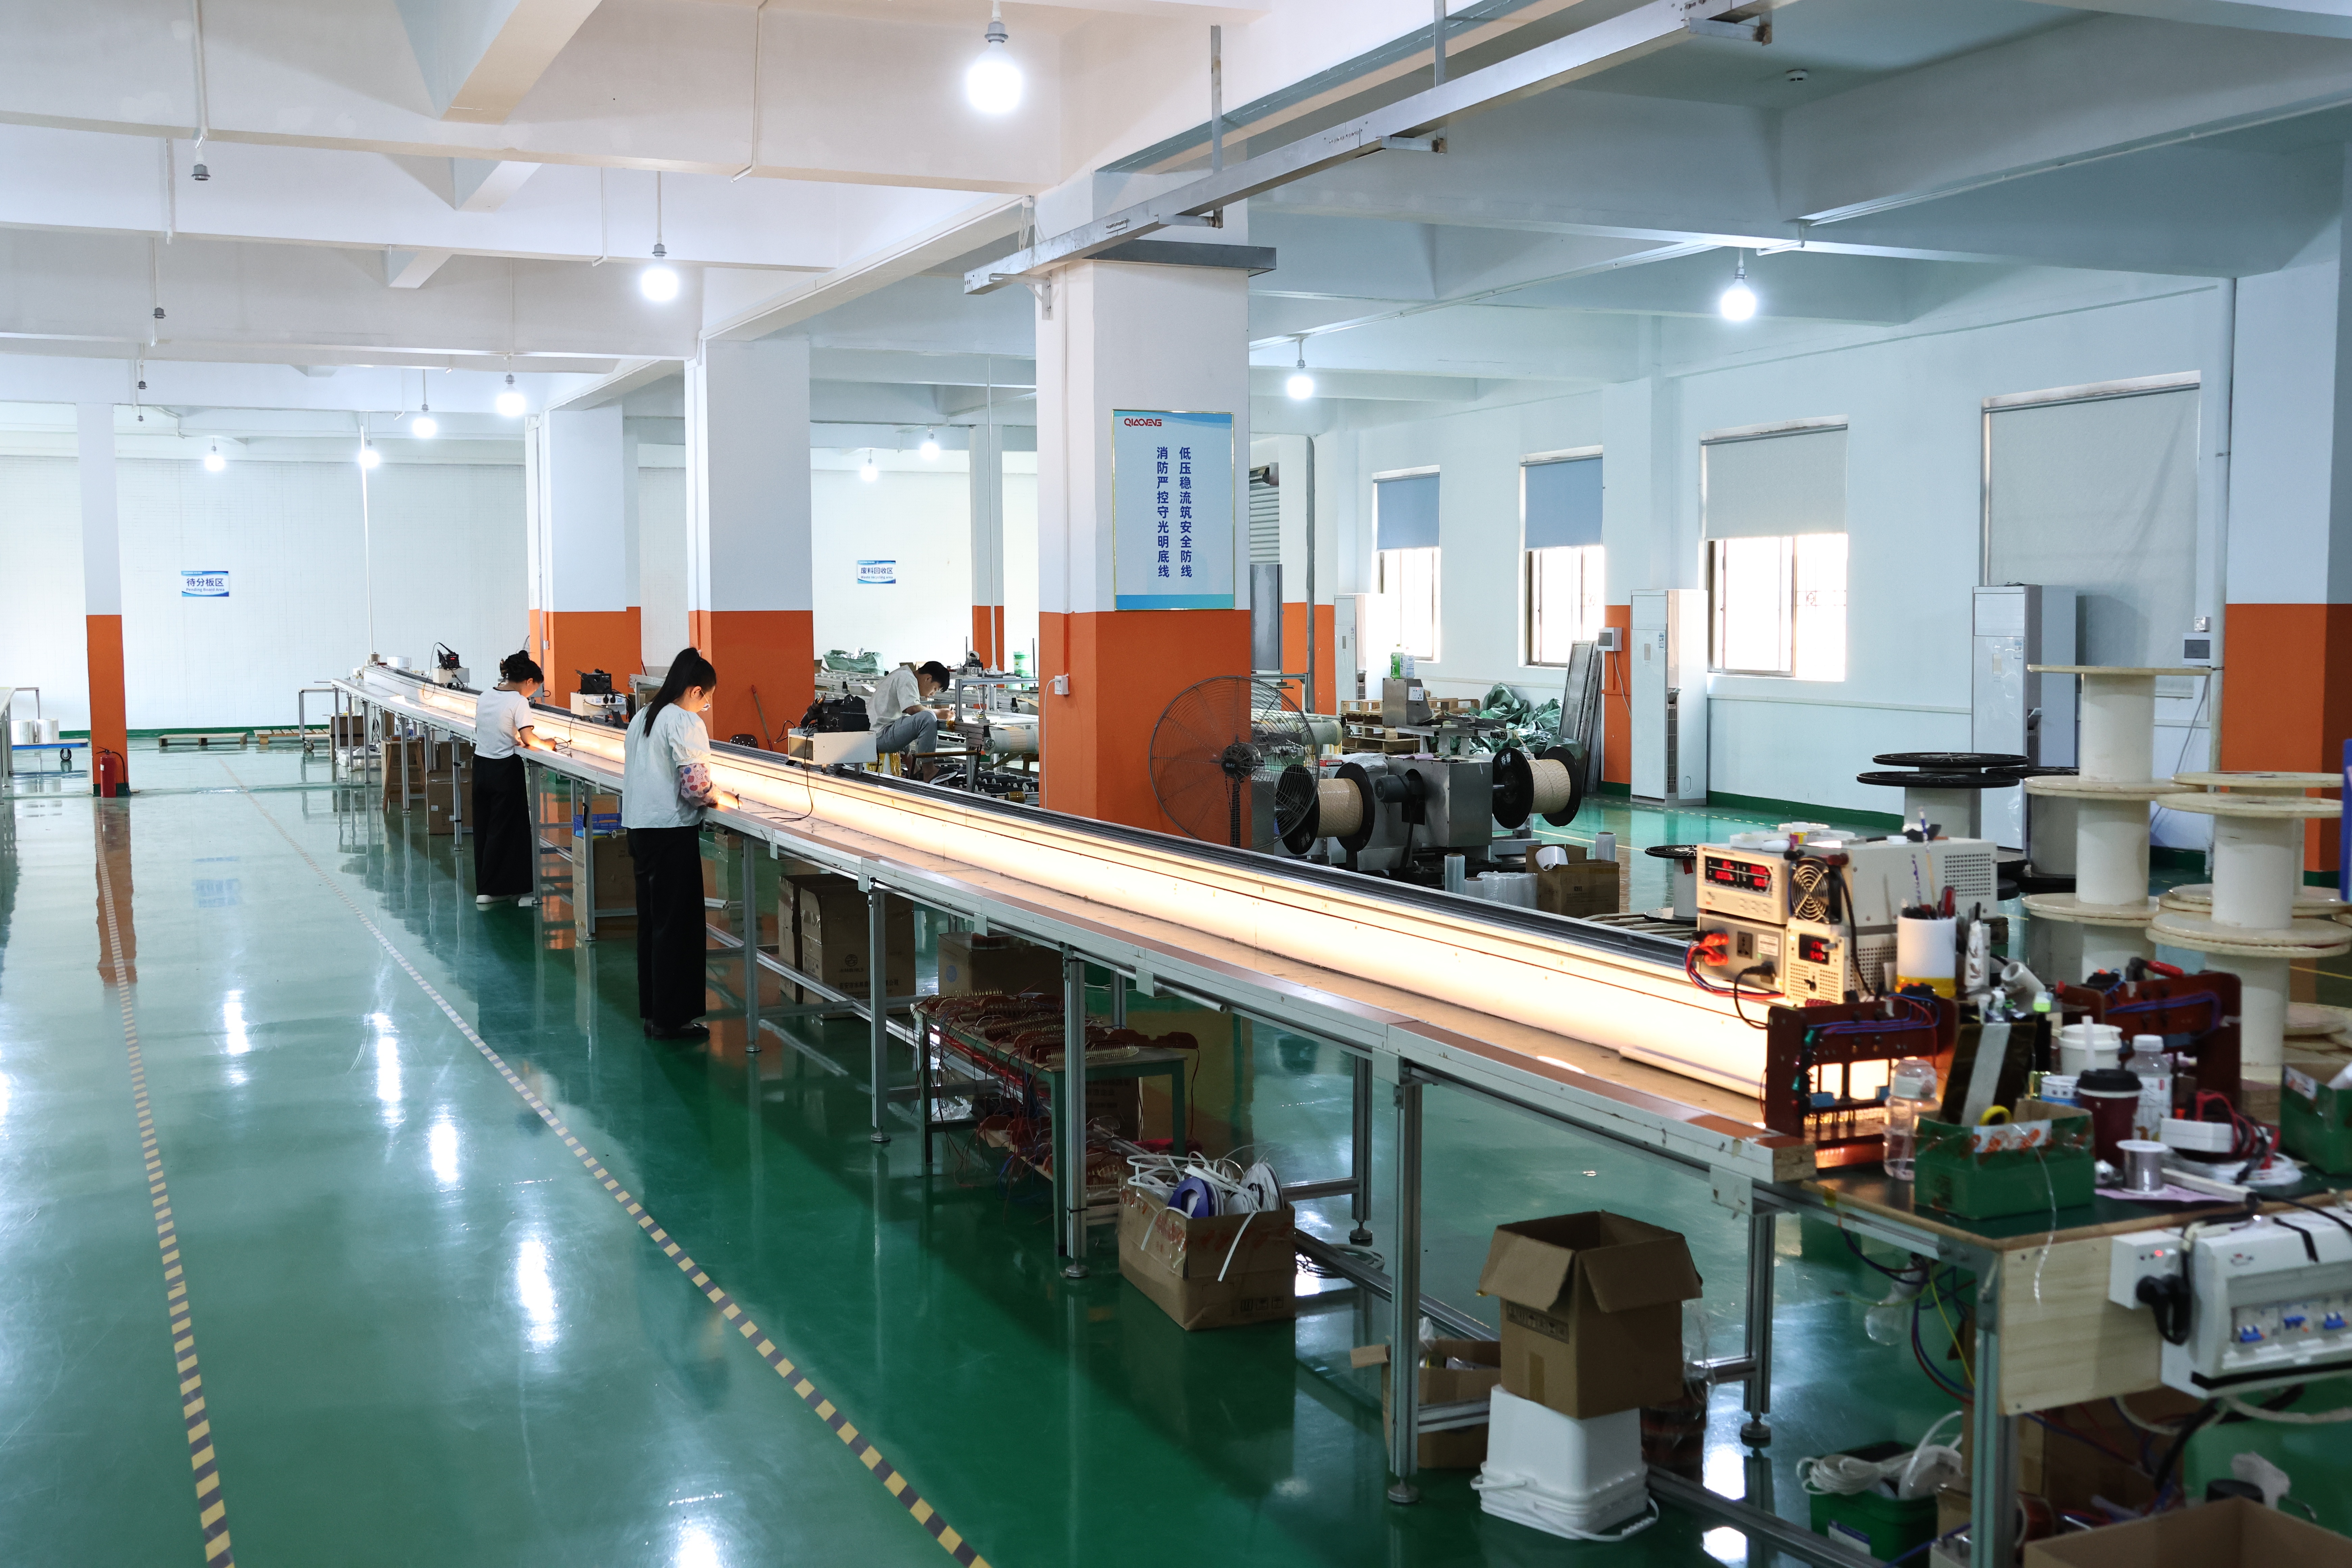
Installing led strip lights presents unique challenges that many installers encounter during their first projects. While these flexible lighting solutions offer tremendous design flexibility and aesthetic appeal, the installation process requires careful attention to surface preparation, electrical connections, and environmental factors. Understanding common pitfalls before you begin prevents costly mistakes and ensures your lighting system performs optimally for years to come.
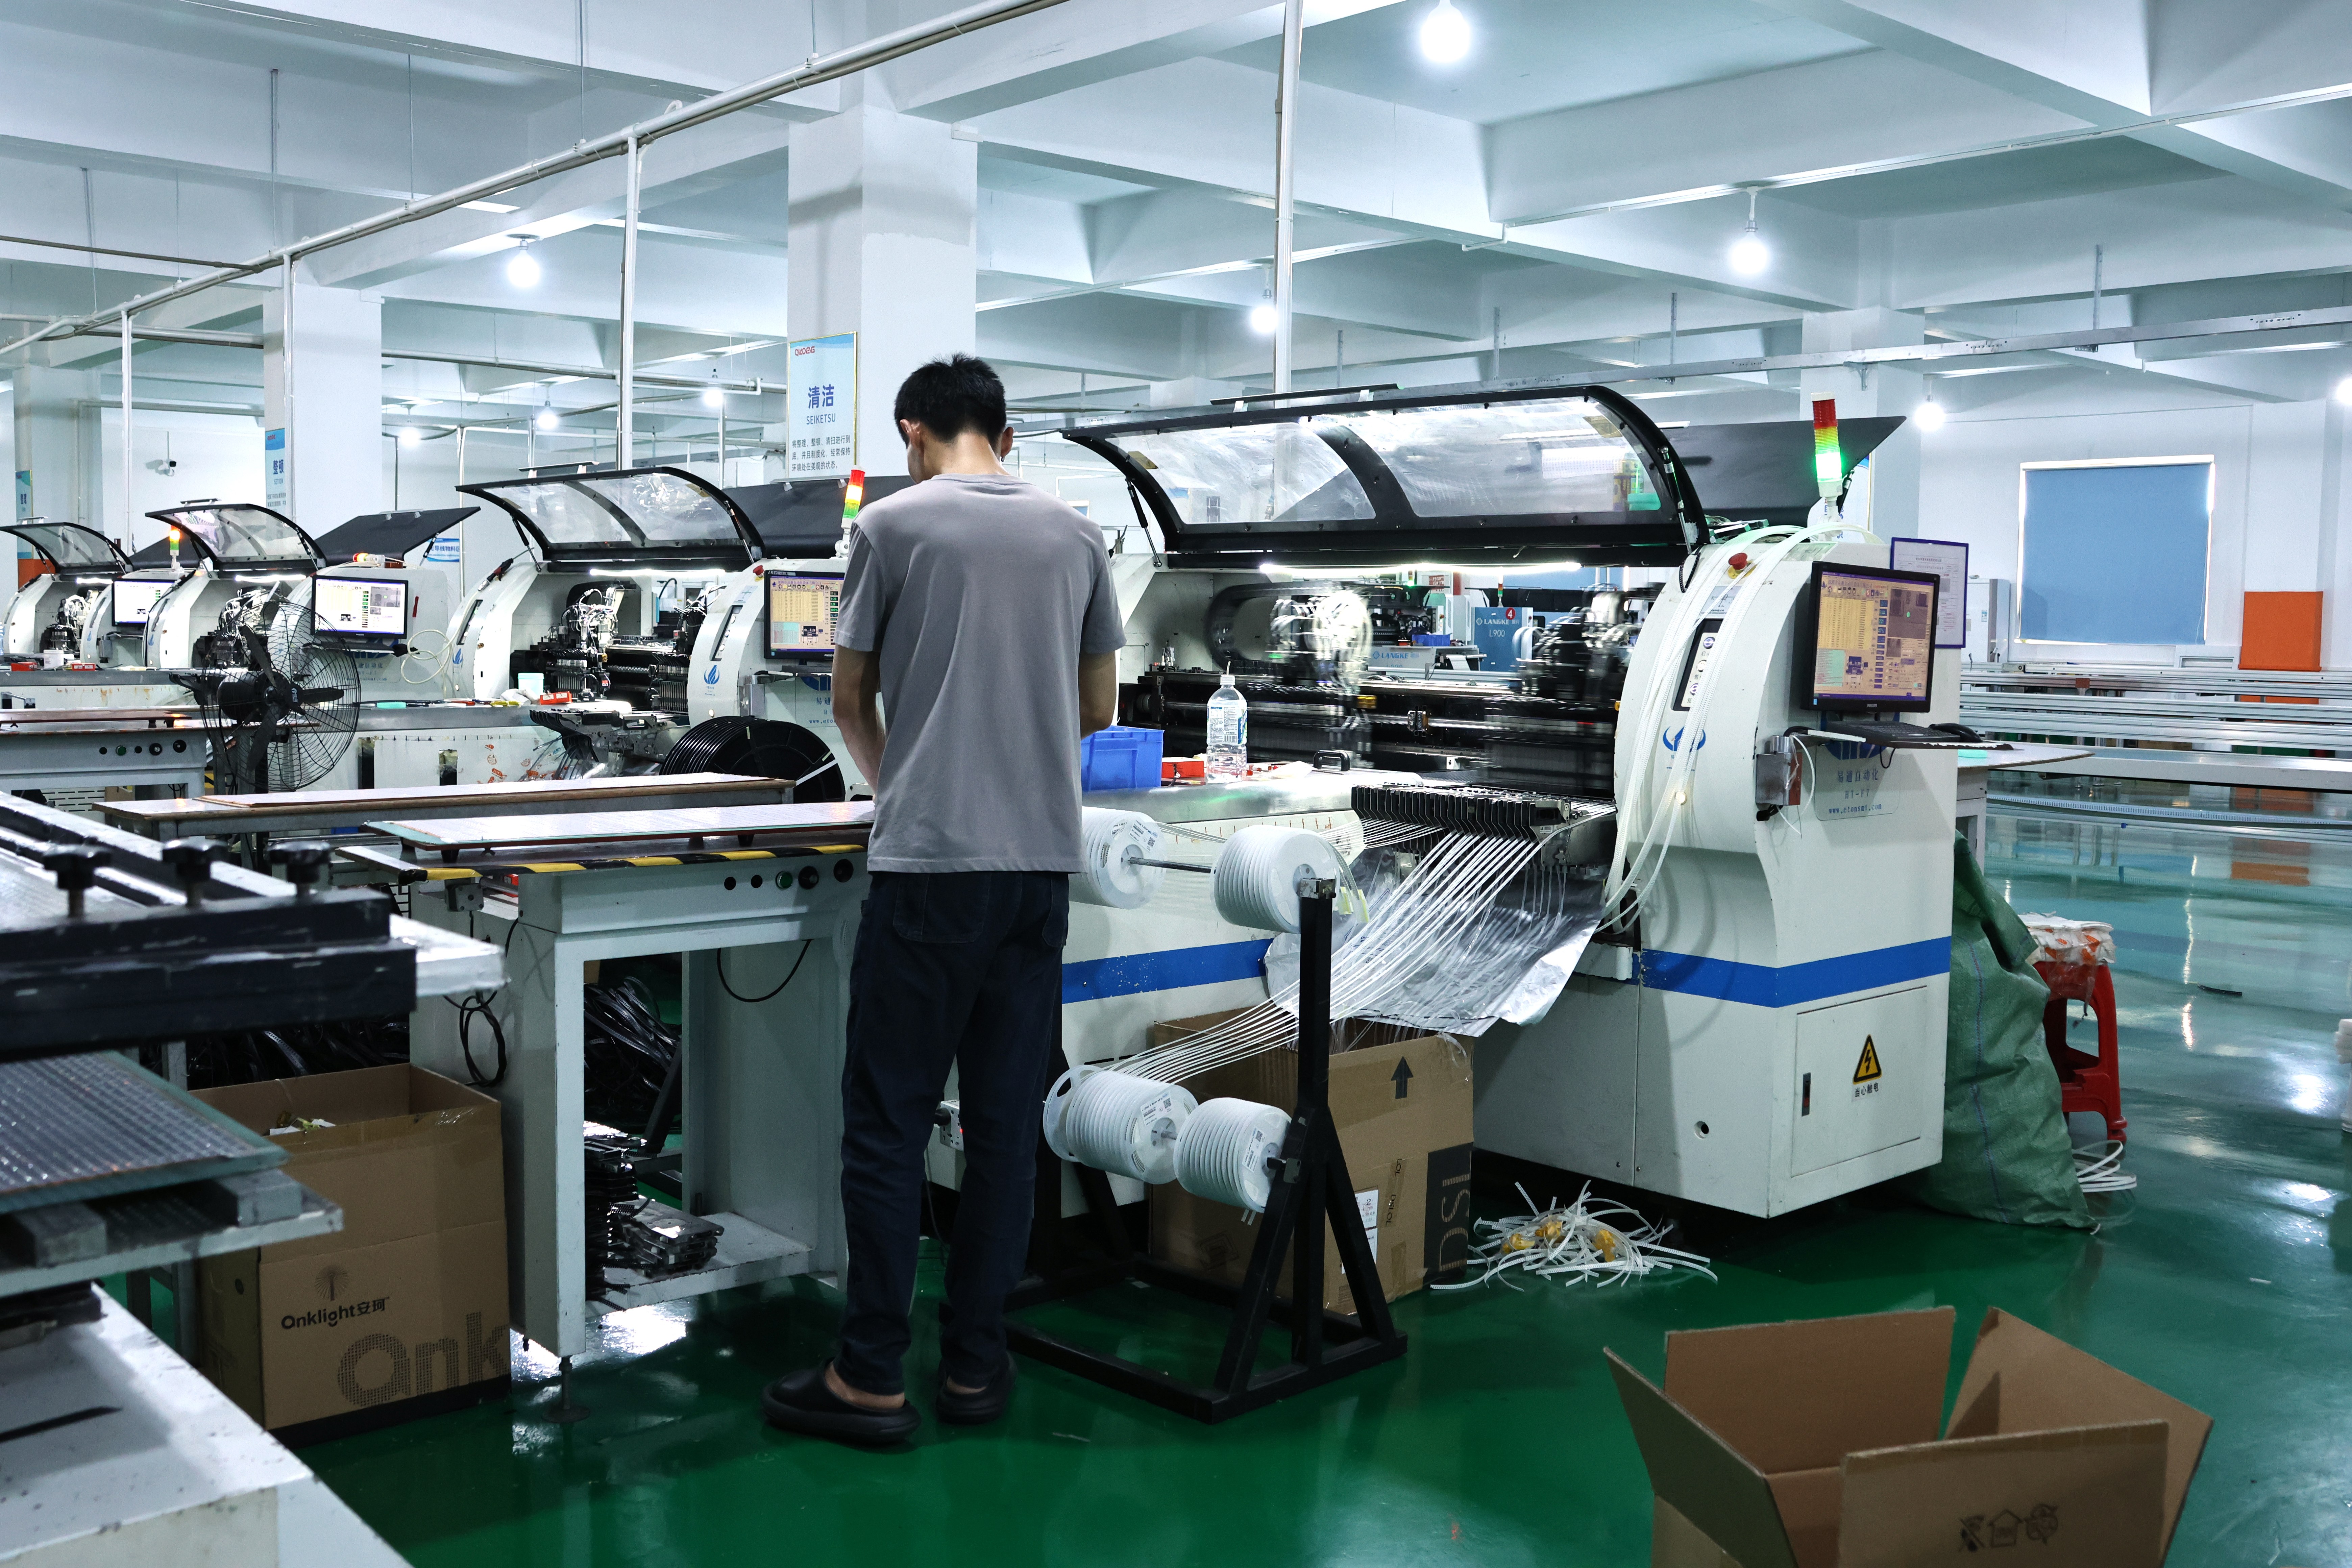
The adhesive tape lighting systems that come with most led strip lights depend entirely on proper surface adhesion for secure installation. When adhesive fails or lights separate from mounting surfaces, the entire installation becomes compromised. This article examines the most frequent installation challenges, their underlying causes, and practical solutions that industrial and residential installers can apply immediately.
The adhesive tape lighting backing on color changing light strips requires absolutely clean, dry surfaces to establish permanent bonds. Dust, oils, dirt, or residual adhesive from previous applications create barriers that prevent the tape from achieving full contact with your mounting surface. Most premature failures occur within the first few weeks after installation when the adhesive backing encounters humidity, temperature fluctuations, or direct physical contact.
Proper surface preparation is non-negotiable for flexible lighting solutions. Begin by thoroughly cleaning the installation surface with isopropyl alcohol and allowing it to dry completely. For textured or painted surfaces, lightly sand the area to increase adhesive grip. Temperature also matters significantly. Installing adhesive tape lighting in cold environments reduces tackiness, while heat accelerates bonding. Aim for surfaces between 60 and 85 degrees Fahrenheit for optimal results.
Bathrooms, kitchens, and outdoor installations expose color changing light strips to moisture that undermines adhesive strength over time. Water infiltration breaks down the bond and causes physical separation from mounting surfaces. If your project involves wet environments, consider using mounting clips or aluminum channels instead of relying solely on adhesive backing. These mechanical fastening methods provide security that adhesive alone cannot guarantee in humid conditions.
Thermal cycling also affects led strip lights performance. As temperatures rise and fall, materials expand and contract at different rates, creating stress on adhesive joints. Plastic mounting surfaces experience more movement than metal or concrete, making them particularly vulnerable. Installing flexible lighting solutions with thermal buffers, such as foam spacers or flexible mounting rails, accommodates this natural movement and extends installation longevity.
Many led strip lights installation failures stem from incorrect power supply specifications. Using a power adapter rated below the strip's total wattage causes dimming, flickering, or complete failure. Calculate your total power consumption by multiplying the strip length by its watts-per-meter rating, then select a power supply with 20 percent additional capacity. For color changing light strips requiring separate RGB controllers, ensure your power supply and controller match voltage specifications exactly.
Connection failures at solder joints or terminal blocks represent another common issue with flexible lighting solutions. Cold solder joints produce intermittent electrical contact, causing flickering or sections to fail unexpectedly. If you lack soldering experience, use pre-wired connectors and clip-on terminals designed for led strip lights. These mechanical connections eliminate soldering and reduce failure rates significantly. Always verify polarity before powering on to prevent irreversible component damage.
Color changing light strips require compatible controllers and dimmers for reliable operation. Installing a dimmer rated for incandescent bulbs with LED strips causes flickering and reduced component lifespan. LED-specific dimmers use pulse-width modulation technology that maintains consistent power delivery at reduced brightness levels. Verify controller compatibility with your strip type, voltage, and color format before finalizing your installation.
Wireless controller range limitations sometimes go unnoticed until after installation. Objects, walls, and electromagnetic interference from other devices can block or weaken signals between controllers and led strip lights. Test remote functionality throughout your entire space before securing permanent connections. If range proves insufficient, consider mesh-network controllers or hardwired dimmer switches as alternatives to wireless systems that may fail in challenging environments.
Many installers cut led strip lights at incorrect locations, damaging the circuit or cutting through solder pads meant for connections. Each strip features designated cut zones marked by dotted lines and copper pads. Cutting anywhere else severs electrical pathways and renders that section non-functional. Always locate these cutting points before measuring and planning your layout. After cutting, exposed copper pads require waterproofing with solder and heat shrink tubing, or sealed connector covers rated for your installation environment.
Connector alignment problems occur when installers force connectors into misaligned positions, bending pins or damaging receptacles. Flexible lighting solutions depend on proper mechanical engagement for electrical continuity. Insert connectors straight and slowly, ensuring gentle contact without resistance. If a connector feels tight or misaligned, remove it completely and inspect both connector and strip for debris or deformation before attempting to reconnect.
Unlike traditional rigid fixtures, led strip lights remain vulnerable to physical impact during and after installation. Bumping, leaning against, or placing objects on strips causes cracks in the circuit board or separates components from the substrate. In high-traffic areas or commercial installations, protect strips with aluminum channels or diffuser covers that provide mechanical shielding while maintaining light output. This protective approach extends service life significantly and prevents costly replacements.
Vibration and movement in mobile or temporary installations gradually loosen connectors and physical fasteners. Securing strips with multiple mounting points rather than relying on single contact points distributes stress more evenly. Use mounting clips spaced approximately twelve inches apart for horizontal runs and eight inches for vertical installations. These spacing guidelines accommodate natural movement while maintaining the installation's structural integrity over extended periods.
Adhesive tape lighting fails to adhere permanently when surfaces lack proper preparation or when adhesive encounters moisture and temperature fluctuations. Clean surfaces thoroughly with isopropyl alcohol, ensure complete dryness, and install in temperature-stable environments. For wet areas or long-term installations, supplement adhesive with mechanical fasteners like mounting clips or aluminum channels to provide redundant support that adhesive alone cannot guarantee.
No. Color changing light strips require power supplies matching their specific voltage, current rating, and wattage requirements. Using undersized or incompatible power supplies causes dimming, flickering, and accelerated component failure. Calculate your total strip wattage, add 20 percent capacity margin, and select a power supply with matching voltage specifications. LED-specific power supplies perform better than generic adapters designed for other applications.
Proper surface preparation, environmental control, and mechanical reinforcement prevent separation. Clean and dry surfaces before installation, maintain stable temperatures between 60 and 85 degrees Fahrenheit, and use mounting clips spaced appropriately along the strip length. In high-moisture environments, aluminum channels and sealed connectors provide protection that adhesive alone cannot deliver, ensuring your installation remains secure and functional long-term.
